
Spring nails have me craving a shape that goes with every outfit. Here is why I made this post: I wanted to cut through the maze of nail shapes and give you a simple chart you can trust. The tips out there can feel fancy and far from how a busy life works. This guide sticks to real, doable steps you can try this weekend.
If you care about easy self care, want nails that look polished but stay practical, this one is for you. You might juggle chores, work, and family, yet still want a manicure that lasts. If you love trying fresh looks but hate guesswork, you’ll find this helpful.
What you’ll get is a complete nail shape chart that covers the common shapes and shows who they fit best. You’ll learn the basics of each form, how it frames your fingertips, and how to pick one that suits your nail bed and lifestyle.
Here is how to use it. Start by looking at your natural nail bed and finger length. Then compare how a shape would sit on your nails in natural light. Finally, test with a quick file into the new form and see if you still love it.
Think tools first. You need a gentle file, a buffer, and a cuticle oil to keep edges smooth. Maintain the shape by filing in one direction and stopping when the edge feels sturdy. Finish with a clear coat to seal the look.
This chart won’t fix every nail issue, and seasons can change your favorite shape. It will give you a fast way to choose a shape that flatters and lasts. Ready to try a new form? Let this guide steer your next manicure and help you talk through shapes with your nail tech.
Contents
- 1. The Classic Oval
- 2. The Bold Coffin
- 3. The Sleek Stiletto
- 4. The Playful Square
- 5. The Elegant Almond
- 6. The Fun Flare
- 7. The Chic Round
- 8. The Edgy Edge
- 9. The Minimalist Short
- 10. The Textured Touch
1. The Classic Oval
You want nails that look long without being fragile. The classic oval shape gives this balance. Its soft, curved ends slim your fingers and fit most nail art styles. Use oval nails for daily wear or special events. The look is clean.
Shape and upkeep
Oval nails rely on a gentle arc rather than sharp corners. To keep the curve, file with a rounded emery board and shape from the outside edge toward the center. Leave tips a tad longer. This makes the nails feel sturdy and polished.
Care and color
Healthy cuticles matter. Push them back gently, moisturize, and skip harsh tools. For color, try nude or pastel shades. Neutral pinks and soft creams look fresh on oval nails.
Nail art ideas
Experiment with small accents. Glitter tips spark a little shine. A subtle ombre can add length. Minimal lines or tiny florals work well on the oval canvas.
Tips for Oval Nails:
– Keep them slightly longer for an elegant line.
– Use a rounded file to maintain the shape.
– Pair with light, sheer polishes for a fresh vibe.
Next steps
– Practice with a quick routine: file, push back cuticles, buff the shine, and test a new shade on one nail. You’ll see the oval effect for yourself.
1. The Classic Oval
Editor’s Choice

Revlon Compact Emery Boards Nail File, Dual Sided for Shaping and Smooth…

Cuccio Naturale Revitalizing- Hydrating Oil For Repaired Cuticles Overni…

modelones Nail Polish Set, 6 Colors Nude Brown Pink Skin Tones Milky Whi…
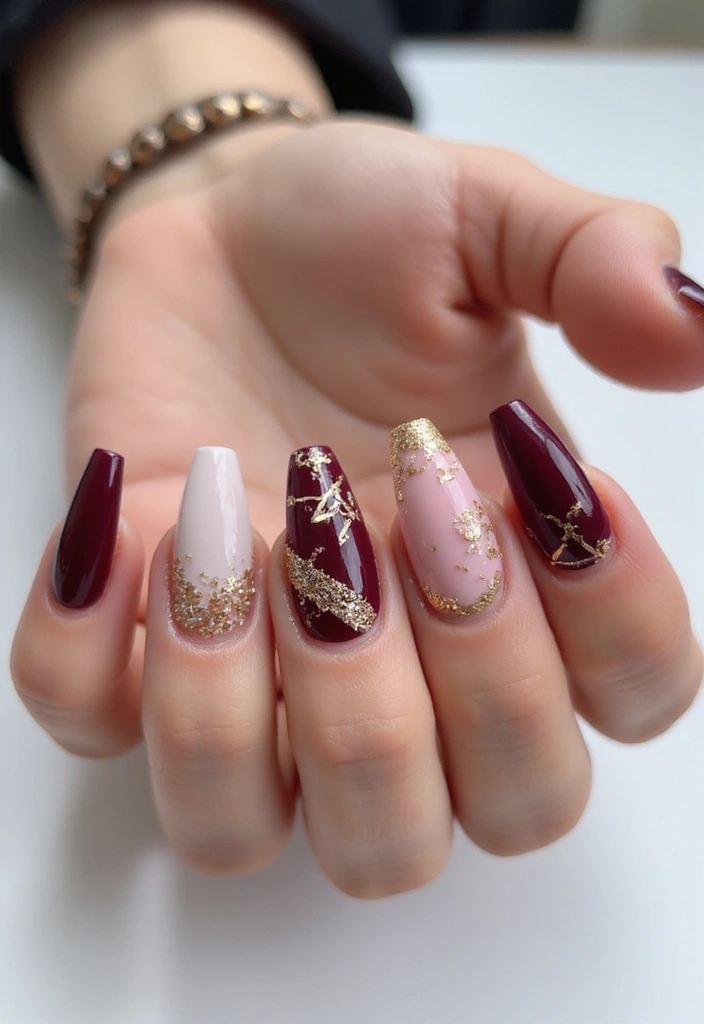
2. The Bold Coffin
You want nails that grab attention. The bold coffin shape can be your go-to choice.
Coffin nails, also called ballerina nails, have a flat top and tapered sides. That creates a clean, modern line. The look turns the nail into a tiny stage for art. You can sport geometric lines, color blocks, or bold abstract designs. Glitter, rhinestones, and 3D accents fit well. Deep hues and bright patterns both work. Here is why it fits your style.
Coffin nails pair well with gel or acrylic. Wear them long for drama or keep them shorter for daily life. Keep the edges smooth so they don’t snag on fabric or hair. A solid top coat helps the design last. If you type a lot, trim the edges to reduce chips.
Manicure Tips for Coffin Nails:
– Longer lengths give a bold look.
– Smooth edges prevent snags and breaks.
– Try bold colors, clean geometry, and glitter.
Occasions and ideas
This shape works for parties, photos, or a night at home with DIY nail art. It boosts confidence when you pair coffin style with a dramatic color or chic pattern. Finish with matte or gloss to change the mood. Next steps: pick your length, choose your colors, and start your coffin manicure.
Dare to stand out! Bold coffin nails turn your fingertips into a canvas for creativity, making every detail pop with style and flair. Get ready to showcase your personality with stunning designs!
2. The Bold Coffin
Editor’s Choice

ROSALIND 30pcs Gel Nail Polish Set, 26 Colors Gel Polish with 3Pcs Gloss…

Nail Art Tools 27Pcs Set,Nail Art Brush,Resin Nail Art Palette,5 Pcs Nai…

Sally Hansen Double Duty™, Base and Top Coat, Quick Dry, Long Lasting, S…
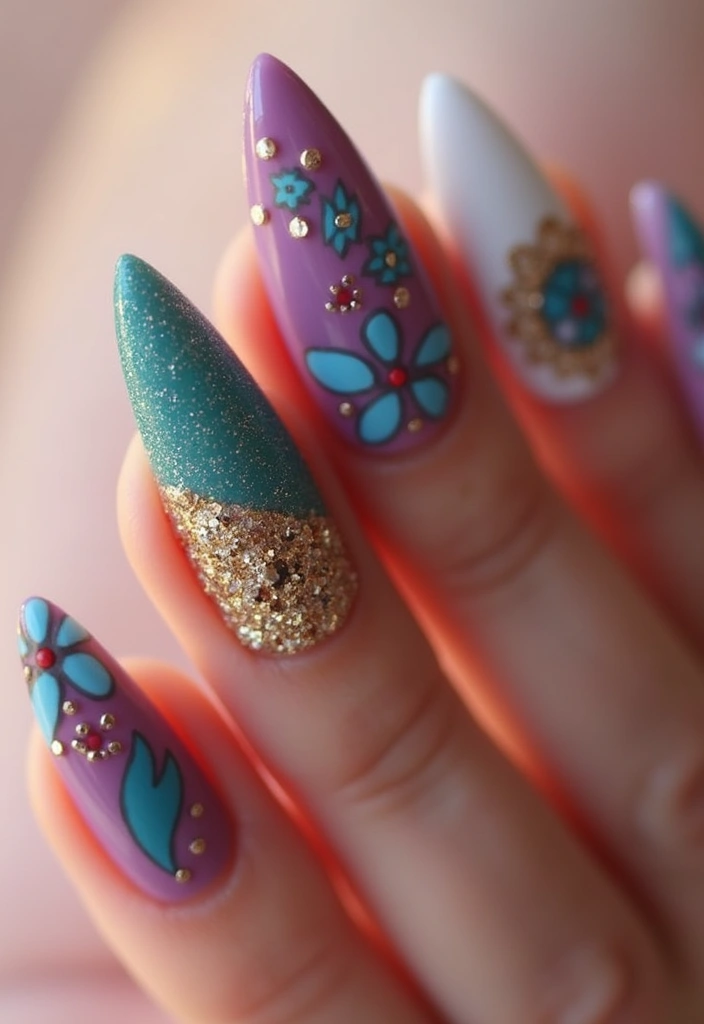
3. The Sleek Stiletto
Looking for a bold, fashion-forward manicure? The sleek stiletto shape is your answer. It tapers to a sharp point, creating a dramatic line that makes fingers look longer and nails feel like little works of art. This shape grabs attention and fits nights out, events, or a bold day on camera. Let’s break it down.
What you can do with stiletto nails
– Negative space art that lets skin peek through.
– Bold graphics that shout your style.
– Nail foils and shiny accents that catch the light.
Next steps: Keep the look chic by choosing clean lines and balanced art. The tall point can also show your artistic side when you keep colors coordinated with your outfit.
Styling Tips for Stiletto Nails:
– Use long-lasting gel polish for durability.
– Avoid overly busy designs to keep it chic.
– Consider metallic or holographic elements for extra shine.
How to wear them safely
– Choose a length you can manage.
– Use a strong top coat to prevent chips.
– Wear gloves for cleaning or home projects.
Here is why this shape fits you. It makes a strong style statement while still feeling elegant. Ready to try it? Start with a trial set at home or book a quick salon shaping to test the look.
Unlock your creativity with stiletto nails! They’re not just a shape; they’re a canvas for bold graphics and negative space art that lets your personality shine through.
3. The Sleek Stiletto
Editor’s Choice

GAOY Sheer Light Pink Gel Nail Polish, 16ml Jelly Milky White Peach Tran…

Holographic Nail Glitter Foils, 12 Colors Sparkly Ultra-Thin Aluminum Fo…

Top Coat Nail Polish Clear: Quick Dry Nail Polish No Chip High Shine Lon…
4. The Playful Square
Square nails look clean and chic. They have flat tops and straight sides. They feel sturdy and easy to care for. If you love nail art, square shapes work well. They show off color and designs clearly. You can go soft with a pale shade or bold with graphic lines.
This shape lasts well for daily life. The key is length. Keep them at a medium length to avoid breaks. Use a straight file to keep edges sharp. Don’t round the corners. That keeps the square look.
Tips for Square Nails:
– Stay at a medium length to lower break risk.
– File straight across to keep the flat tops.
– Add decals or nail stickers to switch up the look fast.
With square nails, a calm color palette can blend with your outfits. Pick two or three shades that match your wardrobe and try them in turns. If you want more punch, pair a bright color with clean, simple nail art. The shape makes bold ideas easy to wear.
Next steps: trim to a comfortable length, file straight, test one sticker, and repaint in a few days if you want a new look.
4. The Playful Square
Editor’s Choice

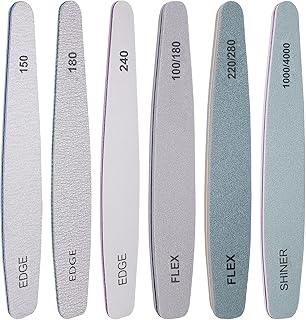
Nail File 12 PCS Professional Reusable 100/180 Grit Double Sides Washabl…

Teenitor 50 Sheets Nail Stickers for Nail Art, Flower Nail Art Stickers …

SAVILAND 6pcs Ombre Nail Polish Sets: Charm Pink Blue Gold Purple Pearl …
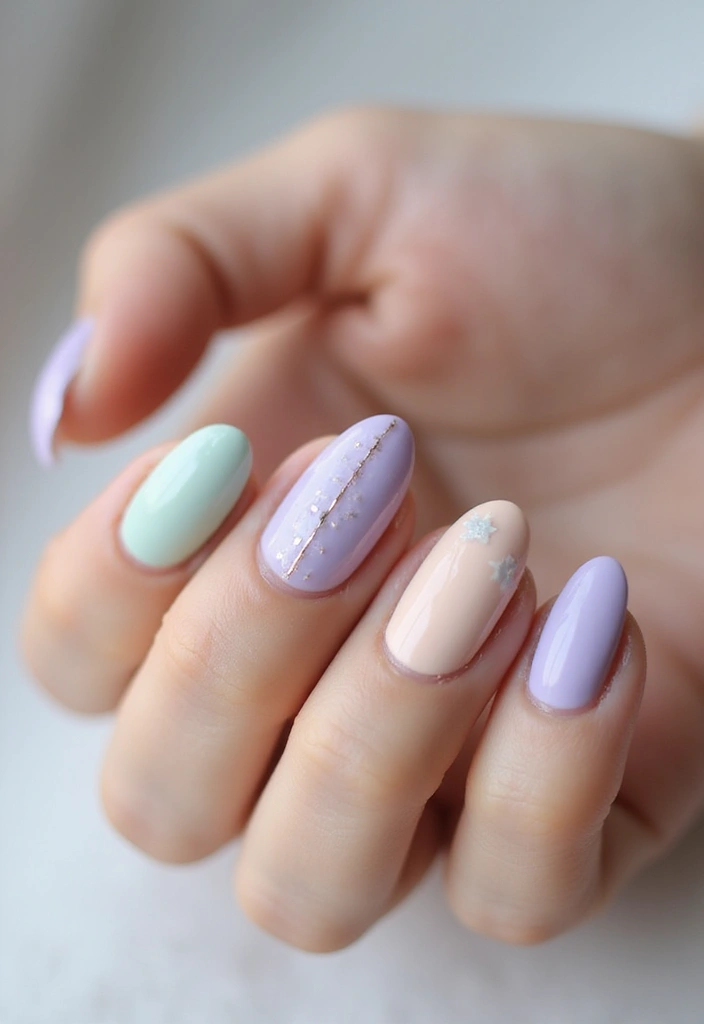
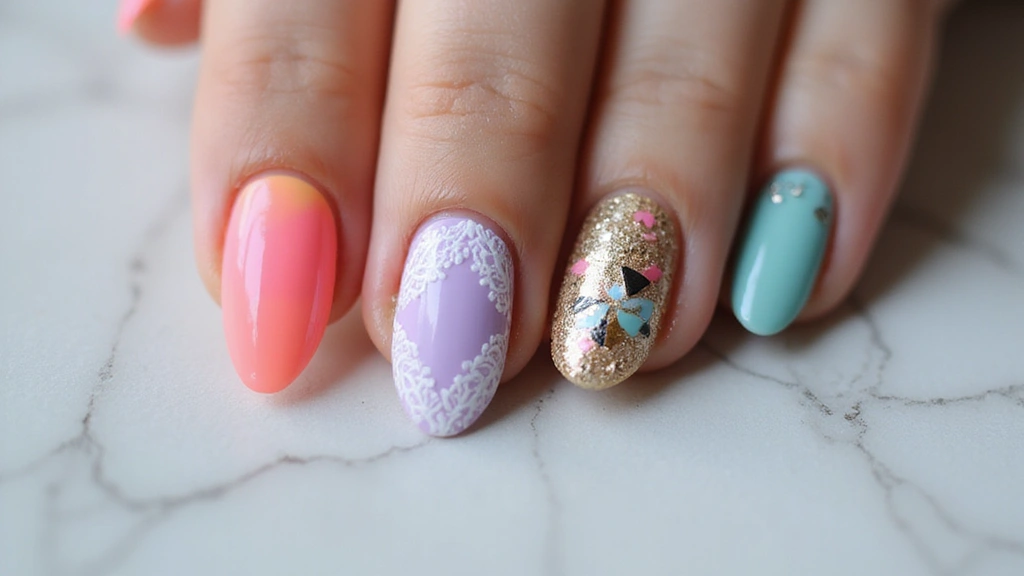
5. The Elegant Almond
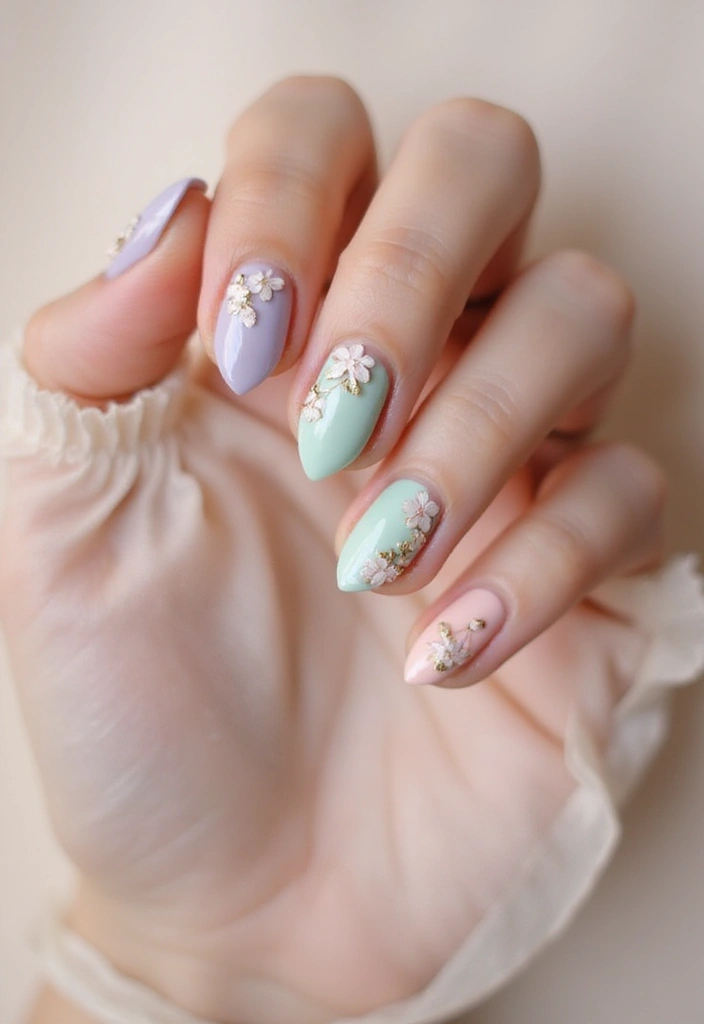
Want nails that look classy but easy to own every day? The Elegant Almond shape is a great match. It blends a soft point with a gentle curve. That mix keeps your hands looking neat, not flashy. Here is why you will love it: the shape creates a smooth line from tip to cuticle and makes nail art stand out.
Almond nails taper to a subtle point. The tip curves, which makes fingers look longer. This works on many hand types, from short to long nails. The shape frames your nails like a slender frame around a picture. If you wear rings, almond nails show them off nicely. You can add nail art without crowding the edge. Florals, lace-like patterns, or clean stripes sit well with this style.
Try soft pastels, nude tones, or a glossy pink. Light shades look sophisticated and easy to pair with outfits. For a bold night out, you can mix in a design on one or two nails while keeping the rest solid.
Manicure Tips for Almond Nails:
– Extend a bit to emphasize the almond silhouette.
– File edges gently with a fine nail file to round smoothly.
– Choose light shades for a polished, sophisticated look.
5. The Elegant Almond
Editor’s Choice

File Fine Extra Fine – 400-600 Pink by Tropical Shine for Women – 1 Pc File

Artdone 31pcs Nail Art Brushes, Nail Art Tool Set, Dotting Tools, Dust B…

Morovan Nail Polish Set Fingernail: Pastel Macaron Rainbow Nail Polish K…
You might also like

6. The Fun Flare
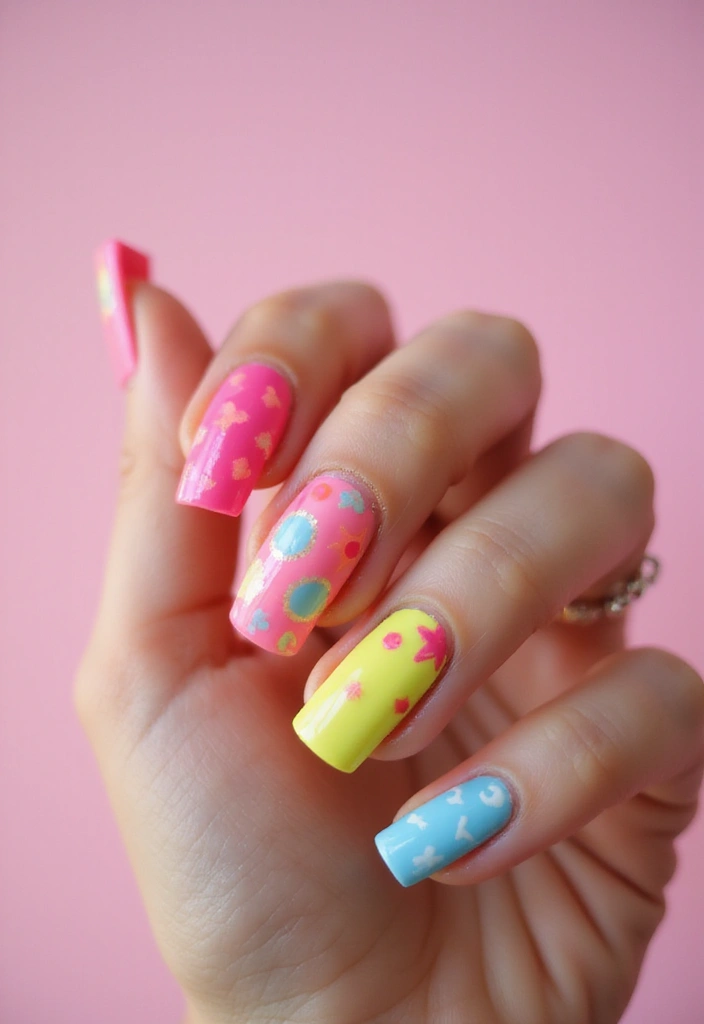
Want nails that feel fresh and playful? Flare nails are a great choice. The shape widens at the tip, creating a little wing that catches light and attention. They look stylish on short and long nails alike. With flare nails you control the mood—go bright for a party, or keep it simple with clean lines. You can push the look with colors, patterns, and textures to match your personality.
Styling Ideas for Flare Nails:
– Choose bright neon colors to boost the fun.
– Mix and match designs on each finger for a quirky look.
– Add gems, studs, or tiny charms for extra flair.
Here is how to wear flare nails well and make them stay sharp.
How to apply and wear flare nails at home:
– Prep nails: wash hands, push back cuticles, and shape into a soft flare.
– Base and color: apply a clear base coat, then two coats of your chosen color.
– Lines and blocks: use tape to create clean color blocks if you want a mixed look.
– Top coat: seal with a glossy top coat to help color last.
– Maintenance: keep cuticles hydrated with oil and avoid aggressive tapping.
Want to stay current? Pair flare nails with bold textures like a glossy finish, a subtle matte edge, or a fine glitter dust for night. The key is balance: let the flare be the star, and keep other nails simpler.
Next steps: pick a length you can wear daily, choose two colors you love, and start with one accent nail. Your flare nails will speak for your style without saying a word.
6. The Fun Flare
Editor’s Choice
Artdone 31pcs Nail Art Brushes, Nail Art Tool Set, Dotting Tools, Dust B…

Beetles Gel Nail Polish Kit with U V Light, Beetles Four Seasons Glow 32…
Cuccio Naturale Cuticle Revitalizing Oil – Lavender & Chamomile – Moistu…
7. The Chic Round
The Chic Round is the shape you reach for when you want easy style. Round nails curve softly at the tip, giving a look that is sweet, clean, and confident. It is forgiving, especially if your nail beds are short or you grow nails slowly. This shape fits both casual days and more dressed up nights.
Design options are wide. Pair it with soft pinks, creamy nudes, or bright pastels. You can keep designs simple or add tiny accents. A small dot, a thin line, or a cute cartoon motif all work with the rounded edge. The curve acts as a smooth canvas, letting art look clear and chic.
Manicure Tips for Round Nails:
– File gently to maintain a smooth edge.
– Choose light colors and simple designs for a polished, playful look.
– Apply a glossy top coat to boost shine and wear resistance.
– Keep nails trimmed to hold the rounded shape.
With round nails, you can experiment with bold colors and fun patterns without overpowering your overall style. To keep the shape sharp over time, moisturize the cuticles, push back the skin, and use a base coat before color. Finish with a strong top coat to protect against chips.
Perfect.
7. The Chic Round
Editor’s Choice

Teenitor Nail File Nail Buffer, 6 pcs Nail Files and Buffers for Natural…
Top Coat Nail Polish Clear: Quick Dry Nail Polish No Chip High Shine Lon…
Cuccio Naturale Revitalizing- Hydrating Oil For Repaired Cuticles Overni…
8. The Edgy Edge
You want a manicure that grabs attention. Edge nails give you sharp, angular lines that stand out. This shape uses clean corners and crisp angles to create a bold look you can wear any time.
What edge nails look like
Edge nails show straight edges and clear angles. They have a geometric vibe. You can wear simple art or big color blocks. If you love fashion, this shape fits your style.
Here is why it fits you
If you want a new vibe, edge nails can be your go-to. They suit creative people who push style. They pair with sleek outfits and bold jewelry.
Tips for styling edge nails:
– Keep them longer so the angles show clearly.
– Use high-contrast color pairs for drama.
– Add geometric patterns for a modern touch.
Design ideas:
– A single sharp edge with a solid color.
– A two-tone look with a dark base and a bright edge line.
– Geometric accents like triangles or chevrons.
Care and maintenance:
– File slowly in straight lines to keep the angles crisp.
– Finish with a glossy top coat for shine.
Next steps
Choose a length you can manage, then pick colors that match your closet. Start with one hand to practice the edge until you feel sure.
Dare to be bold! Edge nails with sharp angles and crisp lines are your go-to for a fashion statement that turns heads. Unleash your creativity and let your fingertips do the talking!
8. The Edgy Edge
Editor’s Choice
Nail File and Buffer Set, 6 Pcs Professional Nail File Kit for Acrylic a…
Top Coat Nail Polish Clear: Quick Dry Nail Polish No Chip High Shine Lon…
Artdone 31pcs Nail Art Brushes, Nail Art Tool Set, Dotting Tools, Dust B…
You Might Also Like
9. The Minimalist Short
You want a manicure that stays neat without a lot of upkeep. The minimalist short nail shape gives you polish that lasts. Short nails resist snags and stay comfortable all day. They fit life at work, at home, and out with friends. With the right care, they look clean and chic.
Manicure Tips for Short Nails:
– Choose light colors to keep your look fresh and clean.
– Add a tiny accent nail for a pop of personality.
– Keep nails neat and trimmed for a polished vibe.
– Use a base coat plus a quick-dry top coat to protect and speed drying.
– File gently in one direction and keep corners rounded to avoid snags.
Moisturize cuticles daily with oil or hand cream. Here is why this matters: healthy cuticles help short nails look neat and edges stay smooth.
Here are easy design ideas you can actually pull off:
– Soft pinks, nude, or sheer white colors feel calm and classy.
– A subtle dot or thin line near the cuticle adds detail without fuss.
– Try a tiny French tip or a mini white line on the tip for clean contrast.
– Matte finishes give a modern, understated vibe.
Next steps: pick a shade you love, prep your nails, and try one of these simple ideas this week. Your hands will feel lighter and your look will stay neat all week.
9. The Minimalist Short
Editor’s Choice
Top Coat Nail Polish Clear: Quick Dry Nail Polish No Chip High Shine Lon…
Cuccio Naturale Revitalizing- Hydrating Oil For Repaired Cuticles Overni…

Nail File 10 PCS Professional Double Sided 100/180 Grit Nail Files Emery…
10. The Textured Touch
You want nails that catch the eye and last. Textured nails add depth and personality to your manicure. They let you mix finishes like matte, glossy, and glitter for a fresh look. Textures make your nails feel real and seen.
Manicure Tips for Textured Nails:
– Use a matte top coat for a chic, modern vibe.
– Put different finishes on separate nails for contrast.
– Add small beads, sequins, or tiny studs for extra texture.
Textured nails are forgiving. They invite you to experiment without breaking the bank. Pick a base color you love, then layer on texture on one or two nails to begin. A matte finish on one nail against a glossy one on another creates a stylish clash. Glitter can transform a simple shade into a party look. Neutrals keep the texture calm, while bright colors make it pop.
For staying power, give each layer time to dry. If you add trinkets, press them firmly so they stay put. If you place beads, keep them away from the cuticle to avoid snagging. A light clear top coat can protect embellishments without washing out the texture too much.
Next steps: choose your colors, pick your textures, and experiment this week. You might discover a signature style you can wear every day.
Dare to be different with textured nails! Mix matte, glossy, and glitter finishes to create a stunning manicure that truly reflects your personality. Remember, the only limit is your imagination!
10. The Textured Touch
Editor’s Choice
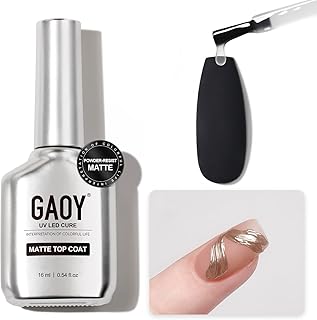
GAOY Matte Gel Top Coat, 16ml Powder-Resist Matte Finish for Detail Chro…

Flatback Pearls and Metal Nail Beads for Nail Art (Silver+Gold), Luxurio…
Sally Hansen Double Duty™, Base and Top Coat, Quick Dry, Long Lasting, S…
Conclusion: Nail Your Perfect Look!
Choosing the right nail shape can transform your entire look and boost your confidence. With so many styles to choose from, there’s a perfect match for everyone. Whether you lean toward classic shapes or adventurous designs, understanding your options can help you express your individuality with every manicure.
Don’t hesitate to experiment with different shapes and designs as you explore the world of nail art. Each shape offers unique possibilities, so go ahead and find what resonates with your style!
Note: We aim to provide accurate product links, but some may occasionally expire or become unavailable. If this happens, please search directly on Amazon for the product or a suitable alternative.
This post contains Amazon affiliate links, meaning I may earn a small commission if you purchase through my links, at no extra cost to you.
Frequently Asked Questions
What is a nail shape chart and how can it help me choose the right manicure?
A nail shape chart is a visual guide that showcases different nail shapes, helping you find the one that complements your style and enhances your overall look. By understanding the characteristics of each shape, you can make informed decisions that suit your preferences and lifestyle. Whether you want something classic or bold, a nail shape chart simplifies the selection process for your next manicure!
What are some popular nail designs for each nail shape?
Each nail shape pairs beautifully with various nail designs! For example, oval nails look fantastic with intricate floral designs, while coffin nails can showcase bold geometric patterns. You might find that square nails are perfect for vibrant colors and eye-catching designs, while almond nails lend themselves to soft, elegant art. The key is to experiment and find what resonates with your personality!
How do I maintain my chosen nail shape and design?
Maintaining your manicure is essential for keeping your chosen nail shape looking fresh! Start by using a quality top coat to protect your nail designs from chipping. Regular visits to your nail technician can help ensure your shape stays intact. Additionally, practice gentle care at home by avoiding harsh chemicals and using moisturizing products on your hands and cuticles. Consistent upkeep will keep your nails looking fabulous!
Are certain nail shapes more suitable for specific occasions?
Absolutely! Different nail shapes can convey different vibes. For formal events, you might lean towards elegant almond or classic oval shapes for a sophisticated look. In contrast, if you’re heading to a lively party, bold coffin or edgy edge nails can make a statement. Think about the occasion and choose a shape that reflects your style and mood!
Can I change my nail shape frequently, or should I stick to one?
You can definitely change your nail shape as often as you like! It’s all about experimenting with different styles to find what suits you best. However, keep in mind that frequent changes may require your nails to be filed and reshaped, which can weaken them if not done correctly. If you’re trying something new, give your nails some time to adjust and recover between shape changes for optimal health!
Related Topics
nail shape chart
manicure tips
nail designs
spring nails
bold coffin
elegant almond
chic round
textured nails
easy nail art
fashion-forward nails
beginner friendly
edgy nail styles
")


")

")
I loved this nail shape chart! I’ve always struggled with which shape suits me best. Do you have any tips for someone who wants to try a new shape for the first time?
This is such a fun post! I once tried to cut my nails into a stiletto shape at home and ended up with a couple of pointy disasters. Guess I should have left that to the pros!